Guide to Creating Custom Embroidered Patches for Personalization
Learn how to create personalized embroidered patches with a simple, step-by-step guide. From size selection to design finalization, this article helps you craft unique patches to elevate your wardrobe. Perfect for customizing clothing and accessories, this process ensures professional-looking results that reflect your personal style.
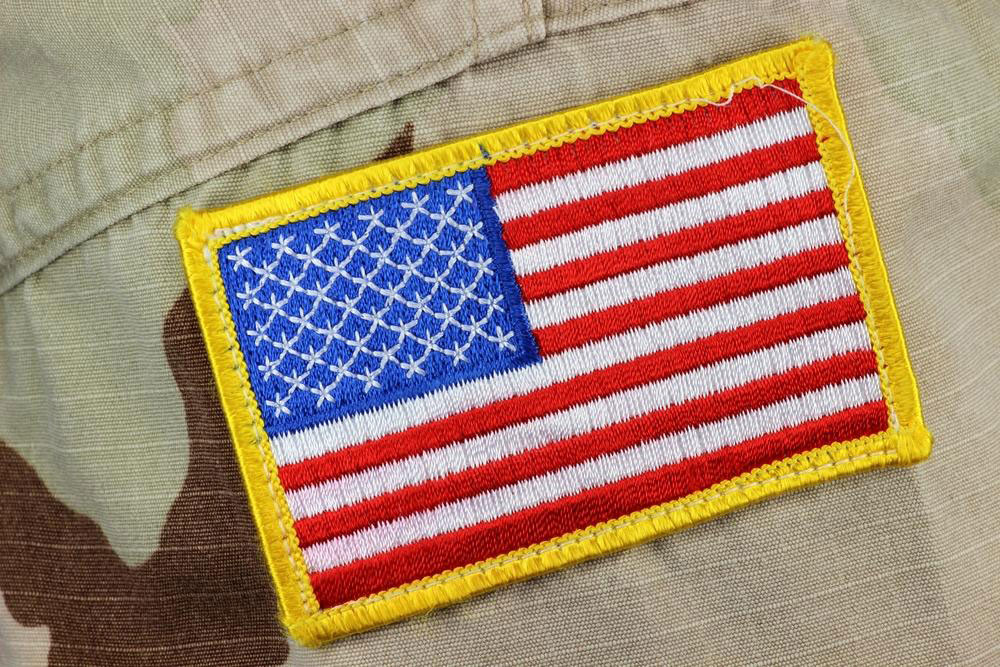
Enhance your apparel with personalized embroidered patches that stand out. These adaptable accessories are ideal for customizing jeans, jackets, caps, and more, giving your clothing a unique flair. To craft your own embroidered patches with professional quality, follow these four straightforward steps.
Determine the right size – Match the patch size to the item. For small surfaces, 2-4 inches work well, while larger spaces like back patches require 8-12 inches.
Select a shape – Decide on a shape such as circle, square, or oval based on your design. Ready-made patches can simplify the process; just upload your design.
Define your design concept clearly – Decide whether to feature logos, symbols, or messages. Providing visual references or text helps bring your idea to life accurately.
Finalize your design – Keep it simple and focused. Sketch a clean outline of your idea, whether it's a quote, image, or doodle. Clear communication ensures a polished final product. Stay inspired by current design trends for better results.