Complete Tips for Professional Tile Installation and Finding Qualified Experts
This guide provides essential tips for professional tile installation, emphasizing the importance of defining project needs, understanding materials, having proper tools, gathering recommendations, and budgeting wisely. It helps homeowners ensure high-quality results, whether they hire experts or do the job themselves, covering key aspects to achieve lasting and visually appealing tiled surfaces.
Complete Tips for Professional Tile Installation and Finding Qualified Experts
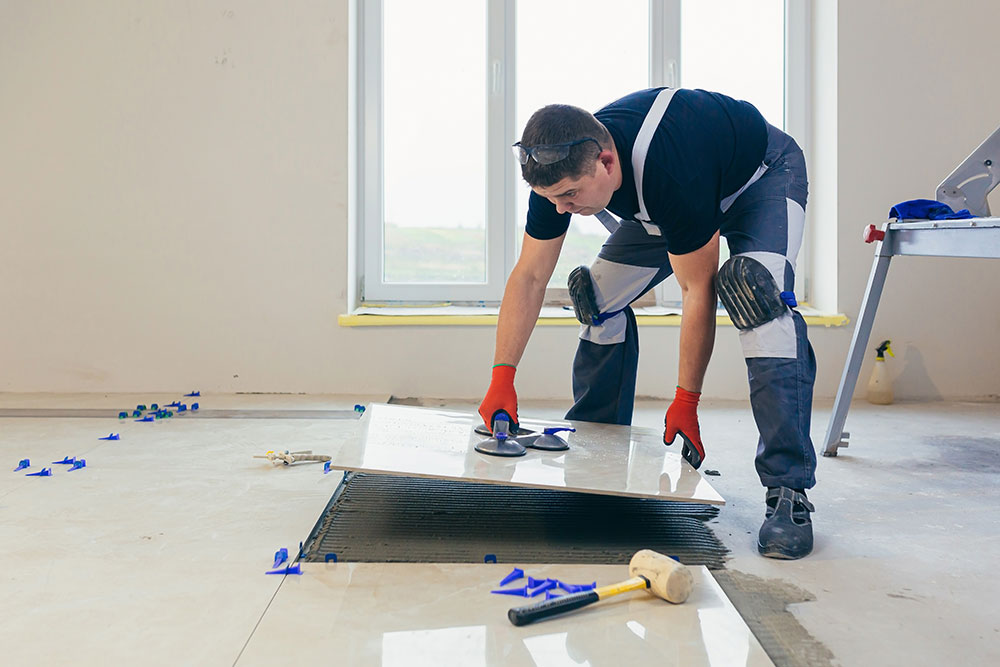
Installing floor tiles is a key part of home upgrades, whether you choose to do it yourself or hire professionals. Proper planning and knowledge of the process are essential to achieve excellent results. When selecting installers, verifying their skills guarantees high-quality work and good value.
1. Define Your Project Needs
Knowing your requirements early on helps ensure a smooth process, including surface prep, timeline, and design preferences. Clear objectives allow you to hire specialists with relevant expertise.
This step involves evaluating whether the surface needs repairs or preparation before laying tiles and estimating the duration of the project. A detailed plan simplifies your decisions and helps find experienced professionals suited to your specific needs.
2. Learn About Tile Types and Accessories
Understanding different materials boosts confidence in making appropriate selections.
Tile Types
Includes ceramic, porcelain, marble, stone, and cement tiles, each available in styles like herringbone, subway, mosaic, chevron, and basket weave, suitable for various spaces.
Adhesives and Mortar
Different options like mastic, epoxy, and thin-set mortar are chosen based on tile material. For example, thin-set is preferred for ceramic and stone tiles.
Grout
Fills the gaps between tiles and impacts the appearance and durability of the surface.
Sealer
Protects grout and natural stone from stains and damage.
Caulk
Seals edges and gaps between tiles and surrounding surfaces or fixtures.
Backer Board
Offers a durable base, ensuring long-lasting installation.
3. Must-Have Tools for Installing Tiles
Having proper tools ensures accuracy and smooth workflow.
Tile Cutter
For scoring and snapping ceramic tiles.
Diamond Tile Saw
Perfect for cutting hard stones like marble with diamond blades.
Grout Float
Uses for applying grout into joints evenly.
Notched Trowel
Spreads tile adhesive uniformly.
Tile Saw
Suitable for detailed cuts on various tiles.
4. Gather Recommendations and References
Personal recommendations from friends, family, or neighbors can lead you to trusted contractors and suppliers. Such references often guarantee quality and reliability.
Contacting reputable sources ensures you work with skilled professionals and use quality materials for your tiling project.
5. Budgeting and Cost Insights
Expenses depend on material choices, surface prep, and labor. DIY methods can save money but carry risks of mistakes if not experienced. Hiring licensed installers offers quality assurance and may save costs long-term.
Typical costs range from $5 to $45 per square foot for installation, with labor fees of $30 to $120 hourly, depending on complexity and tile type. Overall project costs usually span from $800 to $3,000 based on area size, material, and prep work.